Travel Photography Tips for Indian Travelers: Phone & Camera Guide
I ruined my first international trip's photos. Bali, 2019. I had a brand-new DSLR, zero understanding of light, and shot everything at noon when the sun was turning temples into white-hot blobs. The memory card held 3,000 images. Maybe 12 were usable. After years of learning, I've compiled the essential travel photography tips for Indian travelers that I wish someone had shared with me before that disastrous trip.
Here's the truth most photography guides won't tell you: great travel images have nothing to do with owning expensive gear. Your phone—yes, that iPhone 14 or Galaxy S23 Ultra you're carrying—can produce stunning travel images if you understand when to shoot, how to compose, and where to position yourself. I've seen professional photographers create magic with phones and amateurs create garbage with ₹2,00,000 camera setups.
This guide covers everything from phone versus camera decisions to drone regulations, from capturing food that doesn't look like hospital cafeteria slop to photographing strangers without being creepy. Whether you're heading to adventure destinations from India or somewhere calmer, these techniques will transform your travel albums from forgettable to genuinely impressive.
Travel Photography Tips for Indian Travelers: Phone vs Camera in 2026
Let me be direct: modern flagship phones have killed the casual camera market. The iPhone 15 Pro's computational photography, Pixel 8's night mode, Samsung S24 Ultra's telephoto—these devices outperform entry-level DSLRs in most travel scenarios. A ₹80,000 phone beats a ₹50,000 DSLR for 90% of travel photography.
Here's when phones win:
- Street photography — Phones are discreet. Nobody notices you taking photos. A camera screams "tourist" and makes candid shots impossible.
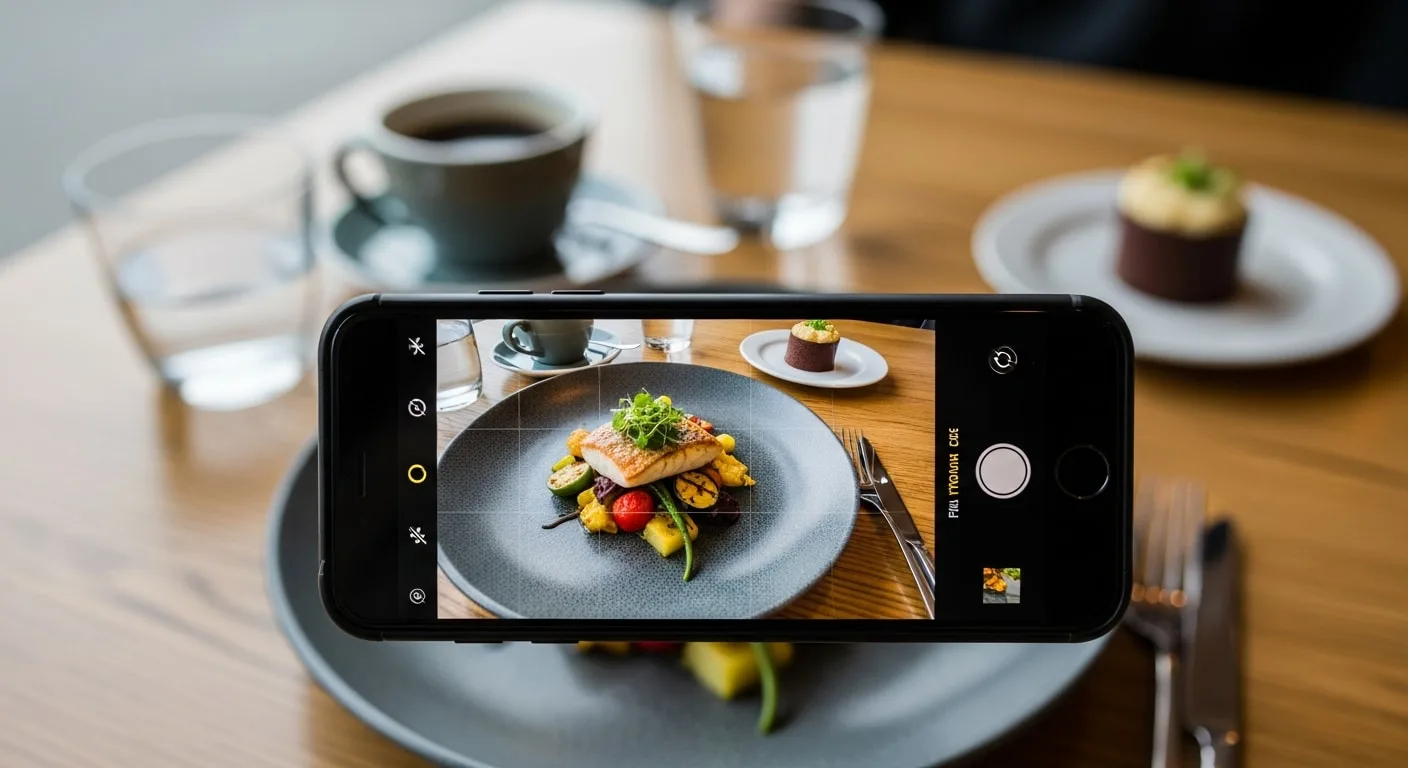
- Food photography — Computational processing handles restaurant lighting better than most camera sensors.
- Social media content — Instagram compresses everything to 1080px anyway. Nobody can tell the difference between phone and mirrorless at web resolution.
- Low-light handheld — Night modes on phones stack multiple exposures automatically. DSLRs require tripods or impossibly steady hands.
- Convenience — Always in your pocket, always charged, always connected to cloud backup.
When cameras still matter:
- Wildlife photography — You need actual telephoto reach. Phone "zoom" beyond 3x is just digital cropping.
- Large prints — Printing above 12x18 inches reveals phone sensor limitations.
- Professional work — Magazine editors still want RAW files from full-frame sensors.
- Extreme conditions — Snow, desert heat, saltwater spray—dedicated cameras handle abuse better.
My recommendation for most Indian travelers: use your phone as primary, carry a compact zoom camera only if you're serious about wildlife or landscapes meant for wall prints. Skip the DSLR entirely unless you're professionally trained. These travel photography tips for Indian travelers prioritise practicality over gear obsession.

Composition Rules That Actually Work
Photography courses teach dozens of composition rules. Most are useless noise. I'm giving you the four that matter for travel photography.
Rule of Thirds (But Know When to Break It)
Enable the grid overlay on your phone camera. Place your subject where gridlines intersect—not dead centre. A temple at the right third with sky on the left creates tension. A portrait with eyes on the upper third feels natural.
Break this rule for symmetry. The Taj Mahal reflecting in a pool? Centre it. A perfectly symmetrical mosque interior? Centre it. Rules exist until they don't serve the image.
Leading Lines Pull Viewers In
Roads, rivers, railings, patterns of floor tiles—anything linear that points toward your subject. A rice terrace with curving lines drawing the eye to a farmer. Airport corridors converging on a departure gate. Train tracks disappearing toward mountains. These create depth and story.
Frames Within Frames
Doorways, windows, arches, tree branches—use them to frame your actual subject. A view through a temple doorway hits harder than the same view in open space. This technique adds layers and context.
Foreground Interest Saves Landscapes
Most landscape photos fail because they're just sky and horizon. Boring. Add something in the foreground—a rock, a flower, a textured surface. Now there's depth. Your eye travels from near to far instead of scanning emptily.
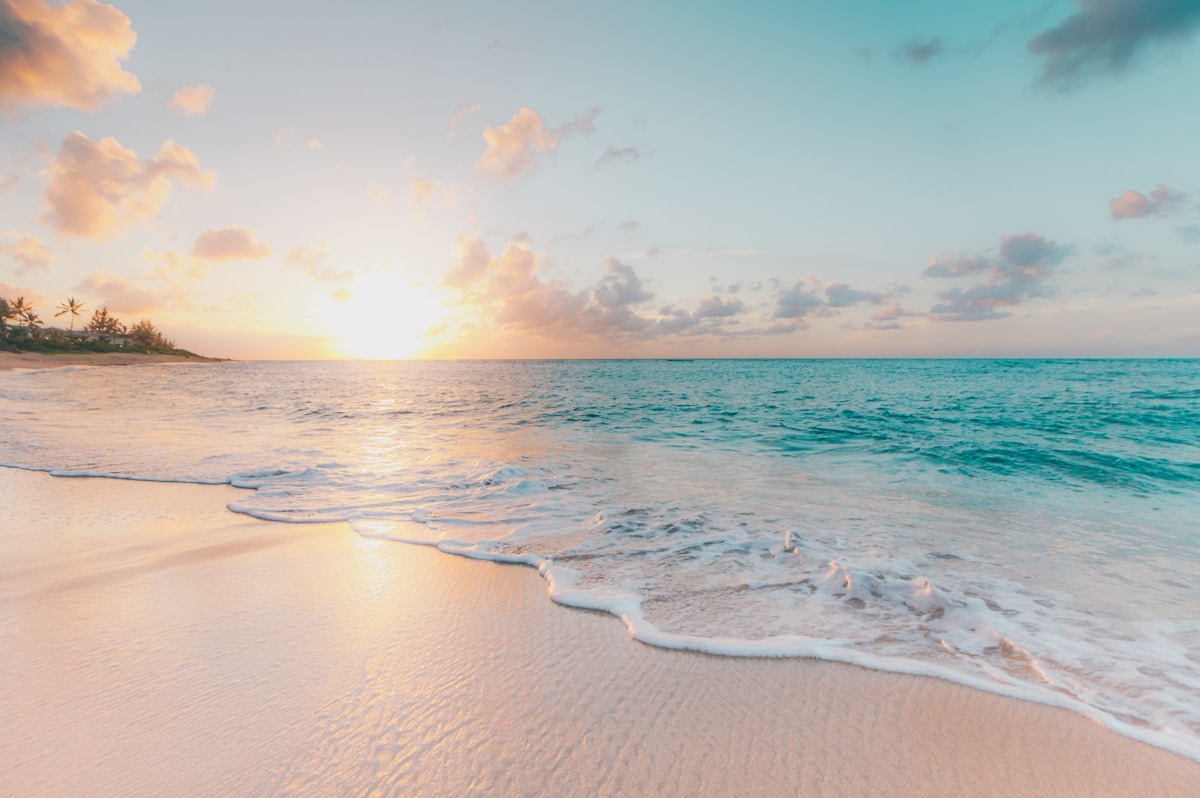
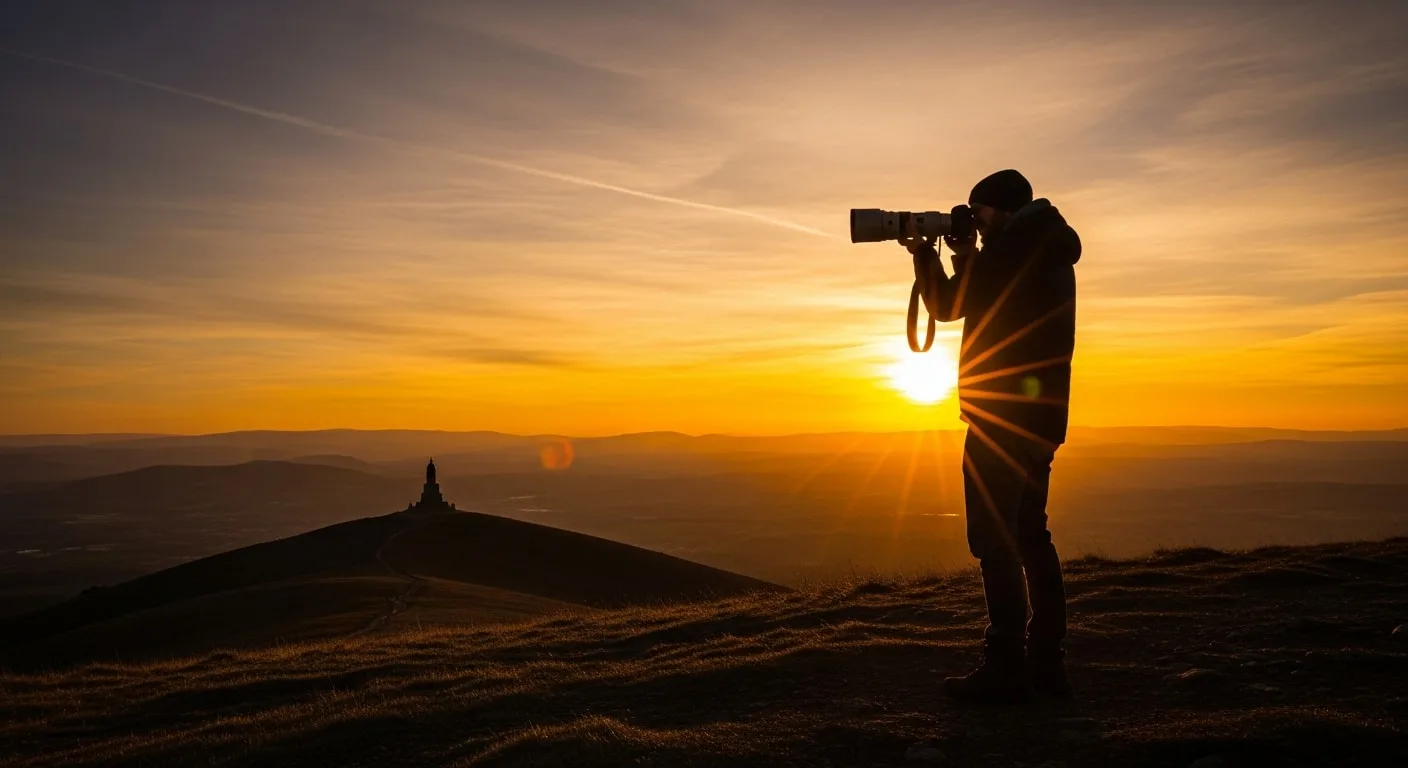
Golden Hour: The Most Important Travel Photography Tip
You've heard photographers obsess over "golden hour"—the hour after sunrise and before sunset. This isn't snobbery. The physics of light changes completely. Midday sun creates harsh shadows under noses, raccoon eyes on portraits, and washed-out skies. Golden hour light wraps around subjects, creates warm tones, and makes everything look cinematic.
Practical application: if you have one chance to photograph a landmark, shoot it at golden hour. Wake up early. Skip the midday visit. The same location looks 50% better with good light. According to National Geographic's photography experts, golden hour produces the most flattering natural light for both portraits and landscapes.
Blue hour—20 minutes after sunset—works beautifully for cityscapes. Artificial lights turn on while sky retains colour. This window is brief but produces magical urban shots. These travel photography tips for Indian travelers emphasise timing over expensive equipment.
Photographing People Abroad Without Being Creepy
This section matters. Indian travelers often unknowingly offend locals by shoving cameras in faces without permission. I've seen it happen in Southeast Asian markets, European streets, African villages. It's uncomfortable to witness.
Always Ask Permission
A smile and gesture toward your camera works universally. Most people say yes. Some want payment (₹50-200 is reasonable for posed portraits in markets). A few say no—respect that immediately.
Cultural Sensitivity by Region
Middle East: Never photograph women without explicit permission. Some countries restrict mosque photography entirely. Conservative dress codes apply at religious sites.
Japan: Don't photograph geishas—they're working professionals, not tourist attractions. Train stations often prohibit photography. Read signs.
Indigenous communities: Always ask guides about protocols. Many have specific rules about photographing ceremonies or sacred spaces.
The Candid Compromise
Want genuine street photography without awkward permission conversations? Use longer focal lengths (3x-5x zoom) and shoot from distance. Alternatively, photograph environments where people are incidental—market scenes where faces aren't identifiable, crowd silhouettes, motion-blurred figures.
Food Photography That Doesn't Look Terrible
Every traveler photographs food. Most food photos look disgusting. That sad biryani shot under yellow restaurant lighting? Nobody wants to see it. Here's how to fix this.
Natural Light or Nothing
Sit near windows. Outdoor seating if available. Restaurant interior lighting—those warm tungsten bulbs—turns everything orange and unappetising. Flash makes food look clinical. Natural daylight is always better.
The 45-Degree Angle
Not directly overhead. Not straight-on. Forty-five degrees shows both the top and side of dishes, creating dimension. This angle works for 80% of food photography.
Overhead for Flat Lay
Multiple dishes on a table? Shoot from directly above. This works for thalis, tapas spreads, mezze platters—anything presented on a flat surface with multiple elements.
Styling Matters
Remove clutter. Wipe sauce drips from plate edges. Arrange utensils intentionally. Move that sweaty water glass out of frame. Clean backgrounds beat busy ones.
Night Photography: Cities and Stars
Night photography intimidates people unnecessarily. Modern phones handle it automatically. But understanding the basics helps you push further.
Phone Night Mode Travel Photography Tips
Stay absolutely still. Night modes expose for 3-5 seconds—any movement creates blur. Brace against walls, railings, or use mini tripods (GorillaPods work well). The steadier you are, the sharper the result.
City Lights
Blue hour beats full darkness for cityscapes—sky retains colour instead of going pure black. Position yourself where reflections appear on water, glass, or wet surfaces. Enable night mode but reduce exposure slightly to prevent blown-out lights.
Long Exposure for Trails
Want car light trails or silky water? You need manual control or a dedicated camera. Phone "long exposure" modes fake the effect with computational processing—results vary. For genuine long exposure work, carry a compact camera with manual controls and a pocket tripod.
Northern Lights Specifically
Aurora photography requires manual settings: ISO 1600-3200, f/2.8 or wider, 15-25 second exposures. Phones struggle here—the iPhone 15 Pro's astrophotography mode helps but dedicated cameras with wide aperture lenses perform better. If aurora hunting is your goal, consider renting a mirrorless camera locally.
Selfies and Couple Photos That Don't Look Touristy
The extended-arm selfie screams amateur hour. Same with awkward posed shots where everyone looks uncomfortable. Better approaches exist.
Use Timers and Tripods
A phone tripod (₹500-1500) with Bluetooth remote transforms couple photography. Set up your composition, position yourselves naturally, fire remotely. No stretched arms, no awkward angles.
Interact, Don't Pose
Walk together. Laugh at something. Look at each other instead of the camera. Movement and genuine interaction beat static poses every time. Set your phone to burst mode and capture multiple frames while moving—one will be natural.
Find Interesting Backgrounds
Everyone photographs themselves at the same obvious spots. Move slightly left or right. Find unusual angles. Shoot through foliage or architectural elements. Different backgrounds make images memorable.
Ask Strangers for Help
Hand your phone to another tourist. Show them exactly what framing you want—demonstrate by composing with them in frame first. Most people happily help, and the results beat selfies.
Editing Apps Worth Installing
Raw photos need adjustment. Always. Even professionals edit every image. These free apps handle 95% of what you need.
Snapseed (Free, Google)
The best free editor. Selective adjustments let you brighten faces without affecting skies. The "tune image" tool handles exposure, contrast, and saturation. Healing brush removes distracting elements. This app does everything most travelers need.
Lightroom Mobile (Free Version)
Professional-grade controls. The free version includes basic adjustments, presets, and cloud sync. Premium adds RAW editing and selective masking—worth ₹800/month if you're serious about photography.
VSCO (Free with Paid Filters)
Known for film-like presets that don't look over-processed. Free filters are excellent. The subscription adds more options but isn't essential.
Quick Edit Workflow
Import photo → increase exposure if dark → add slight contrast → adjust saturation (usually down, not up) → crop to improve composition → export. Takes 30 seconds once practiced. These travel photography tips for Indian travelers include post-processing because raw shots rarely look their best.
Storage and Backup: Don't Lose Everything
I've met travelers who lost cameras, phones, or memory cards containing their entire trip. Heartbreaking and preventable.
Cloud Backup Automatically
Enable Google Photos or iCloud backup on cellular data. Yes, this uses roaming data—budget for it or use our eSIM guide for Indian travelers to get affordable data abroad. Losing photos costs more emotionally than ₹500 in data fees.
Physical Backup Too
Carry a portable SSD (₹5,000-8,000 for 1TB). Transfer photos every few days. Keep this SSD separate from your camera—different bag, hotel safe when going out. Redundancy saves memories.
Memory Card Strategy
Multiple smaller cards beat one large card. If a 64GB card corrupts, you lose everything. Four 32GB cards mean maximum 25% loss. Swap cards daily or every few days.
Drone Rules: Country-by-Country Reality
Drones capture incredible footage. They're also regulated heavily or banned outright in many countries. Know before you pack one.
Complete Bans (Don't Even Try)
Morocco, Egypt, Kenya, Cuba, North Korea, Nicaragua, and several others prohibit drones entirely. They'll be confiscated at customs. Some countries jail violators. Not worth the risk.
Strict Regulation
Thailand, Indonesia, UAE, most of Europe—these require registration, permits, or both. Thailand's registration process takes weeks. Flying unregistered is illegal.
Relatively Easy
Mexico, New Zealand, Maldives (resort permission required)—manageable registration processes. Still need research before travel.
My Recommendation
Unless you're a professional needing aerial footage, skip the drone. The hassle of regulations, battery transportation on flights (lithium restrictions), and insurance requirements rarely justify the result. Phones and cameras cover most needs.
Protecting Gear in Harsh Conditions
Southeast Asian humidity. Desert dust. Antarctic cold. Your equipment faces serious threats depending on destination.
Humidity (Bali, Thailand, Singapore)
Silica gel packets in camera bags prevent moisture damage. Allow equipment to acclimatise before shooting—sudden temperature changes cause internal condensation. Never store cameras in airtight containers with wet clothes.
Dust and Sand
Sealed plastic bags protect gear during transport. Avoid changing lenses in dusty conditions. Clean sensors and lens glass nightly with proper tools—not random cloth that scratches coatings.
Cold Weather
Batteries drain faster in cold. Carry spares close to your body for warmth. Bring equipment inside gradually—sudden warming causes condensation that damages electronics. Place camera in sealed bag before entering warm interiors.
Rain Protection
Cheap plastic rain covers (₹500-1000) save cameras worth lakhs. Or use hotel shower caps as emergency covers. Water damage often isn't covered by warranty.
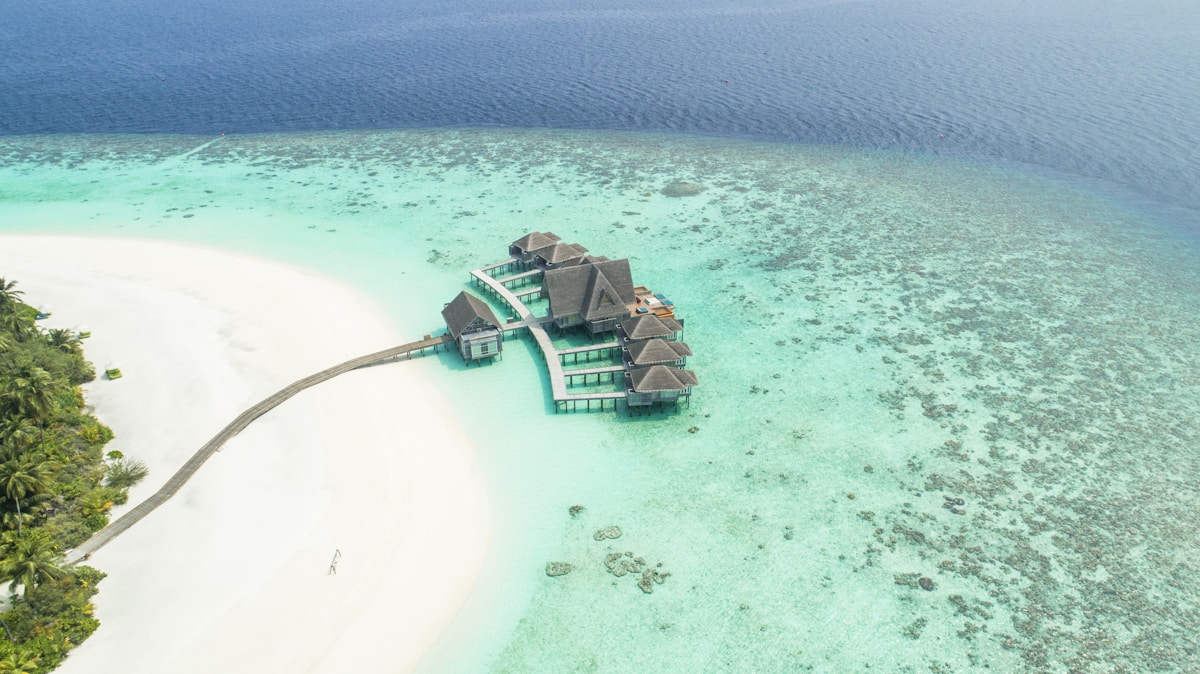
Instagram vs Reality: An Honest Perspective
That crystal-clear Maldives water you see on Instagram? Often photographed with underwater housings, specific weather conditions, and heavy colour grading. The actual experience is wonderful but rarely matches the curated perfection of social media.
This isn't cynicism—it's expectation management. Your travel photos will look different from professional shots. That's fine. Authenticity beats artificial perfection. The candid photo of your spouse laughing at a Thai market has more emotional value than technically perfect but soulless landmark shots.
Don't spend your entire trip chasing Instagram moments. Experience the place. Take photos when they feel right. Some of my favourite travel memories happened while the camera stayed in my pocket.
Best Times to Photograph by Destination
Light and weather patterns vary globally. Match your shooting schedule accordingly.
Southeast Asia (Bali, Thailand, Singapore)
Golden hour around 6:00-6:30 AM and 5:30-6:00 PM year-round (tropical locations have consistent daylight). Monsoon season brings dramatic clouds but unpredictable rain—keep gear protected.
Europe (Switzerland, France, Spain)
Summer golden hours extend—sunset around 9 PM in June. Winter offers low-angle sun all day, creating dramatic shadows. Shoulder seasons (April-May, September-October) balance good weather with fewer tourists.
Middle East (Dubai, Jordan)
Avoid midday entirely—harsh sun and heat make photography uncomfortable. Desert landscapes transform at dawn when dunes cast long shadows.
Iceland and Northern Latitudes
Summer means midnight sun—endless shooting light but no dramatic golden hours. Winter offers aurora opportunities but limited daylight. Shoulder months (September-October, March-April) balance aurora chances with usable daylight.
Practical Gear Checklist
Pack these regardless of primary camera choice:
- Phone tripod or GorillaPod (₹800-2,000)
- Bluetooth remote shutter (₹200-500)
- Portable charger 20,000mAh minimum (₹1,500-3,000)
- Microfibre cleaning cloth (₹100-200)
- Silica gel packets for humidity control
- Plastic rain cover or large ziplock bags
Check our international travel packing list for Indians for comprehensive gear recommendations.
Managing Photos and Apps While Traveling
Your phone becomes command central for travel photography tips for Indian travelers. Install the right travel apps for international trips from India before departure. Beyond camera apps, you'll need offline maps, translation tools, and of course, backup solutions.
Storage fills quickly with videos and burst photos. Delete obvious failures daily. Transfer full-resolution images to cloud or SSD. Keep originals until you're home—phone compression loses quality on re-saves.
Final Thoughts on Travel Photography
The best camera is the one you actually use. Technical perfection matters less than showing up when light is good and composing thoughtfully. I've seen phone photos that moved me emotionally and ₹3,00,000 camera setups producing nothing memorable.
Practice these travel photography tips for Indian travelers before your trip. Walk around your neighbourhood during golden hour. Photograph food at local restaurants using window light. Edit images daily until the workflow becomes automatic. When you land abroad, technical decisions happen instinctively, and you can focus on experiencing the destination.
Your travel photos should spark memories—the smell of that street market, the sound of temple bells, the warmth of a stranger's smile. No amount of technical skill replaces being present in the moment. Balance photography with experience. Come home with images that matter, not just thousands of frames you'll never revisit.
Frequently Asked Questions
Is a DSLR necessary for travel photography in 2026?
No. Modern smartphone cameras—particularly iPhone 15/16 Pro series, Google Pixel 8/9, and Samsung S24 Ultra—produce excellent results for most travel scenarios. DSLRs make sense only for professional wildlife photography, large print work, or specialized conditions. Your phone handles 90% of travel photography needs better than an entry-level DSLR.
How do I photograph locals without offending them?
Always ask permission through a smile and camera gesture. Respect refusals immediately. Offer to show the photo on your screen—most people enjoy seeing themselves. In markets or working environments, ₹50-200 payment for posed portraits is reasonable and appreciated. Never photograph religious ceremonies, children without parents' permission, or women in conservative regions without explicit consent.
What's the best time of day for travel photography?
Golden hour—the hour after sunrise and hour before sunset—provides the most flattering light. Midday sun creates harsh shadows and washed-out images. Blue hour (20-30 minutes after sunset) works beautifully for cityscapes. If you can only visit a landmark once, choose golden hour over midday.
How do I backup photos while traveling internationally?
Enable automatic cloud backup (Google Photos or iCloud) on cellular data. Carry a portable SSD for physical backup every few days. Use an eSIM for affordable international data specifically for backup purposes. Store your backup drive separately from your camera—different bag or hotel safe. This redundancy prevents total loss.
Can I bring a drone on international trips from India?
It depends entirely on the destination. Morocco, Egypt, and Cuba ban drones completely—customs will confiscate them. Thailand, Indonesia, and most of Europe require registration and permits. Research specific country regulations before traveling. Unless you're a professional requiring aerial footage, the regulatory hassle and flight lithium battery restrictions often aren't worth the effort.
What editing apps should I install for travel photography?
Snapseed (free, comprehensive editing), Lightroom Mobile (free basic version, excellent controls), and VSCO (free with optional paid filters) cover all needs. Snapseed's selective adjustment tools are particularly useful for travel photography tips for Indian travelers. Edit daily during your trip rather than facing thousands of unprocessed images at home.